I recently purchased a Somfy Connexoon RTS Gateway to “smartify” my Somfy RTS roller blinds. Before using the gateway, the only way to control the blinds (open or close) was by using the handheld RTS remote control unit. How boring!
With the addition of a Connexoon gateway, I’m now able to control the blinds on Apple HomeKit and Home Assistant. That means asking Siri to open and close the blinds or control them via automation instead of reaching for the remote. What a game changer! Response to commands is instant and an added bonus is the ability to control the blinds when I’m away from home.
In this post, I will walk through the steps I took to set up the Connexoon gateway, configure my Somfy RTS blinds on the Connexoon Window RTS app and integrate them into Home Assistant and Apple HomeKit.
1. Unboxing Connexoon
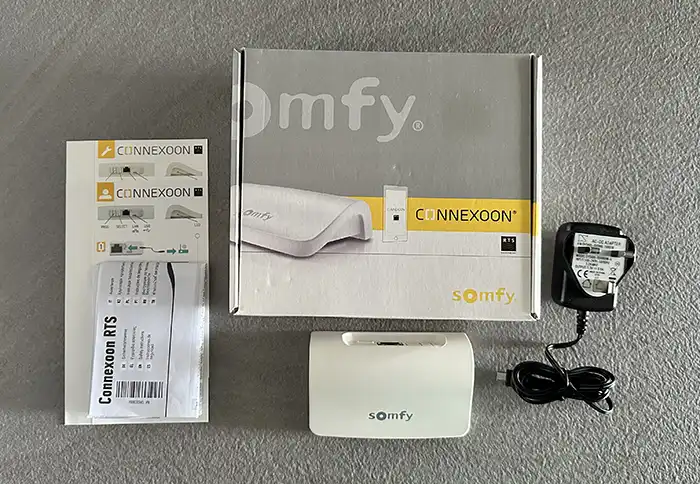
The Somfy Connexoon RTS – Type G Asia package contains the following items:
- Connexoon RTS unit
- 5V power adapter
- Quick installation guides
- Safety instructions
2. Activating Connexoon Unit
Plug Connexoon RTS hub into a power source and connect to internet via an ethernet cable
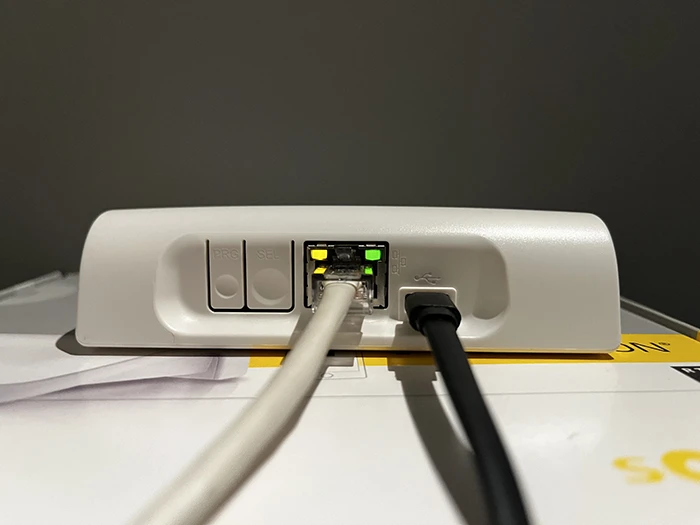
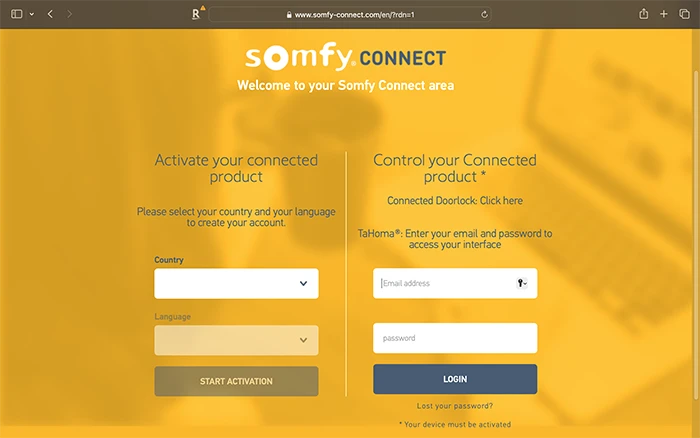
Visit Somfy Connect to register device using the 12-digit PIN code on the back of the hub
Connexoon hub 12-digit PIN code

3. Setup Connexoon RTS App
Update (25 June 2025): The steps below using Connexoon Window RTS app are no longer applicable for new activations starting June 24, 2025. Use the TaHoma by Somfy app instead.
Download and install the Connexoon Window RTS app from App Store or Google Play
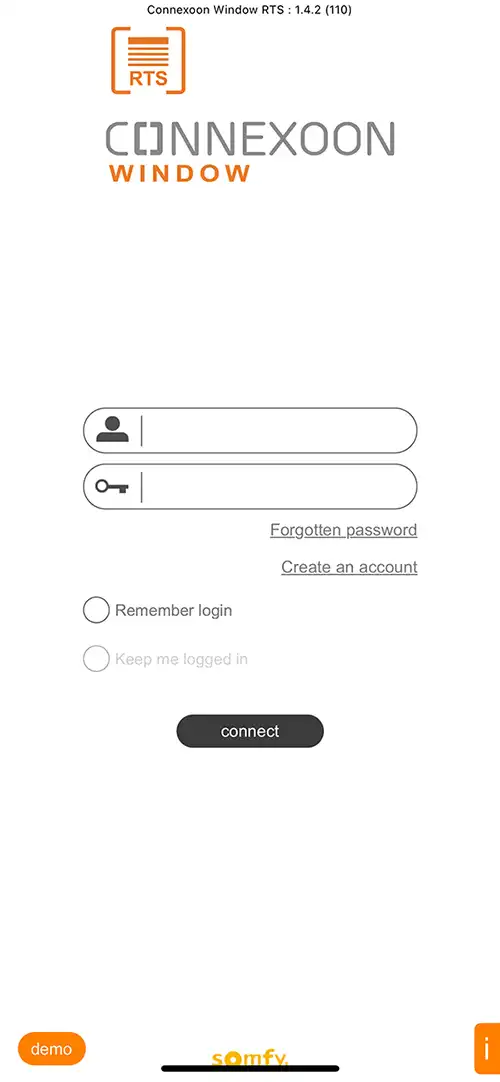
Login using the email and password used to register the Connexoon RTS hub on Somfy Connect. Select Remember login and Keep me logged in to avoid having to input login details each time
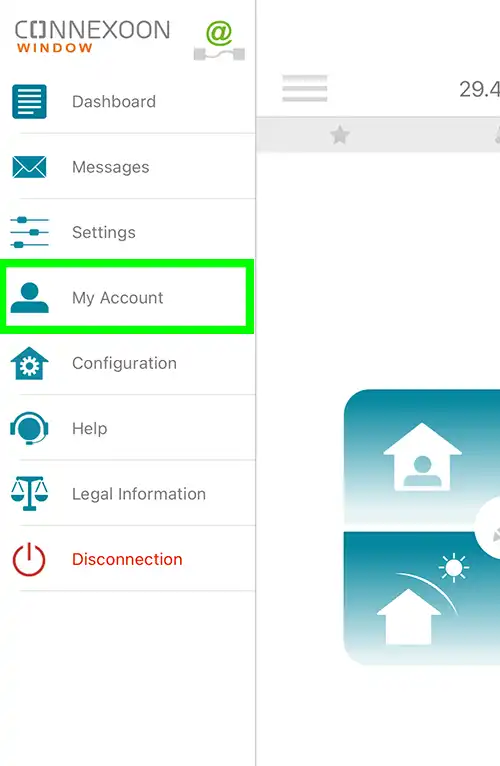
Setup Username: Click on the menu button and select My Account. Then, select User name, input a user name and click Save
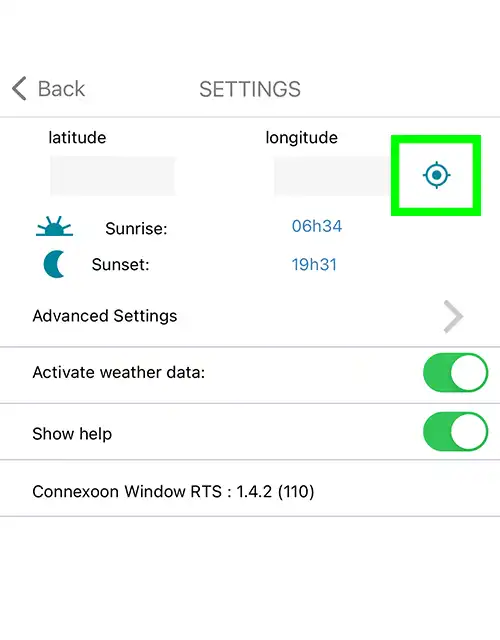
Setup Location: Click Settings and tap on the Navigation Target icon to update your location. This will automatically update Sunrise and Sunset times
4. Configure Somfy RTS Blinds
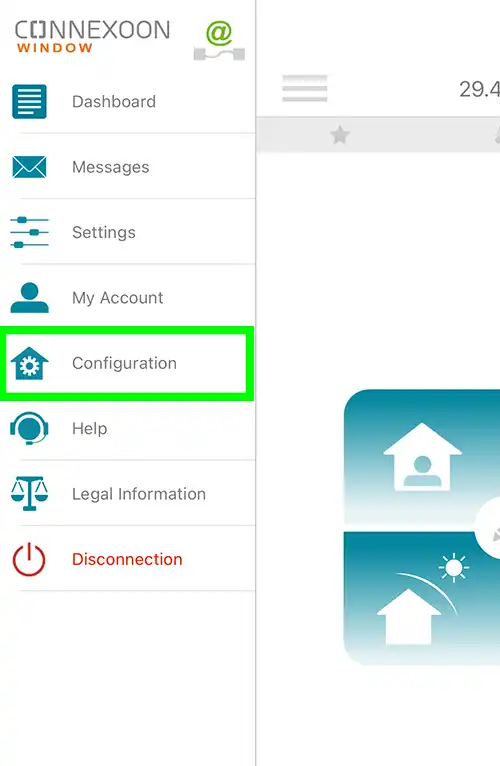
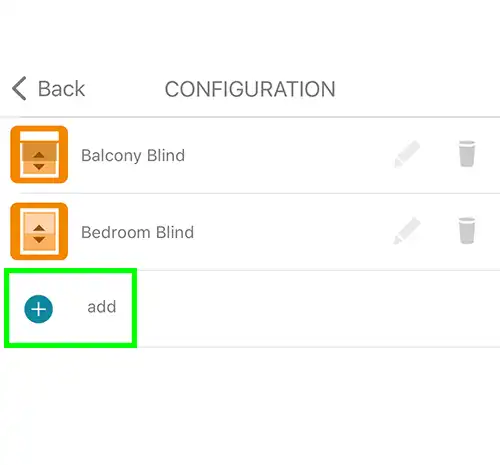
Step 1: Open the Connexoon Window RTS app, click on the menu button and select Configuration
Step 2: Tap the + icon to add a motor/device
Step 3: Click OK on the next screen

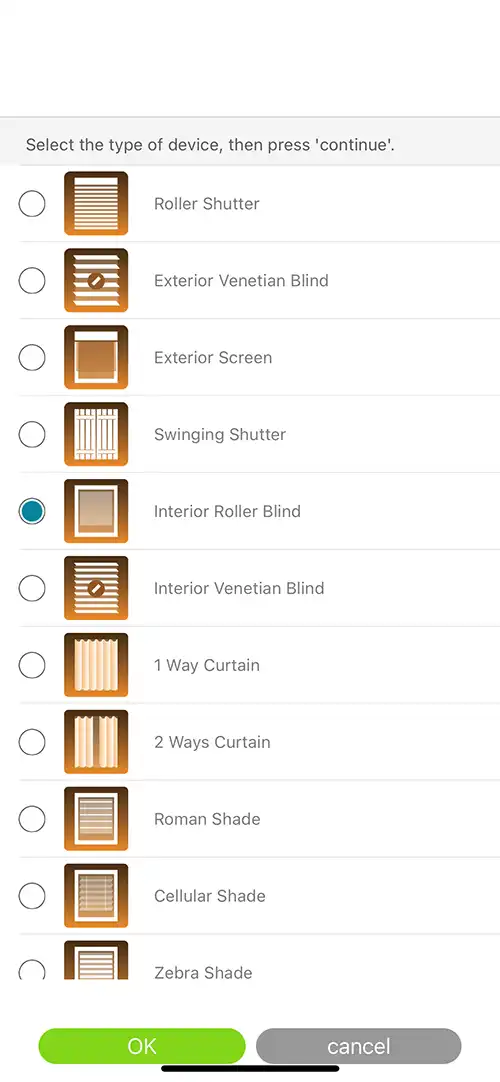
Step 4: Select the type of device and click OK. I used Exterior Screen for my balcony blinds and Interior Roller Blind for my bedroom blinds
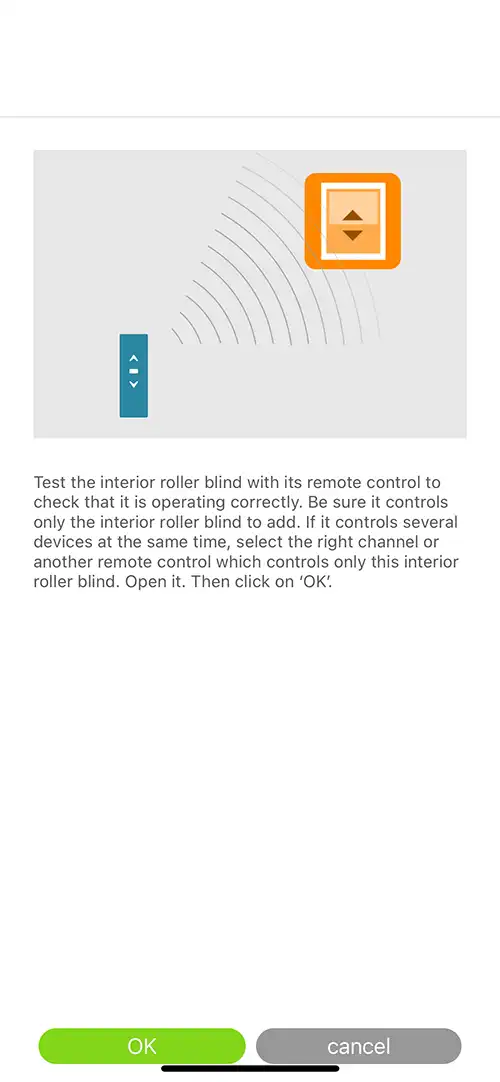
Step 5: Test the device to be added with its existing RTS remote control to check it is working correctly. Make sure the remote only operates the device to be paired and is not grouped with other devices. Click OK once the test is complete
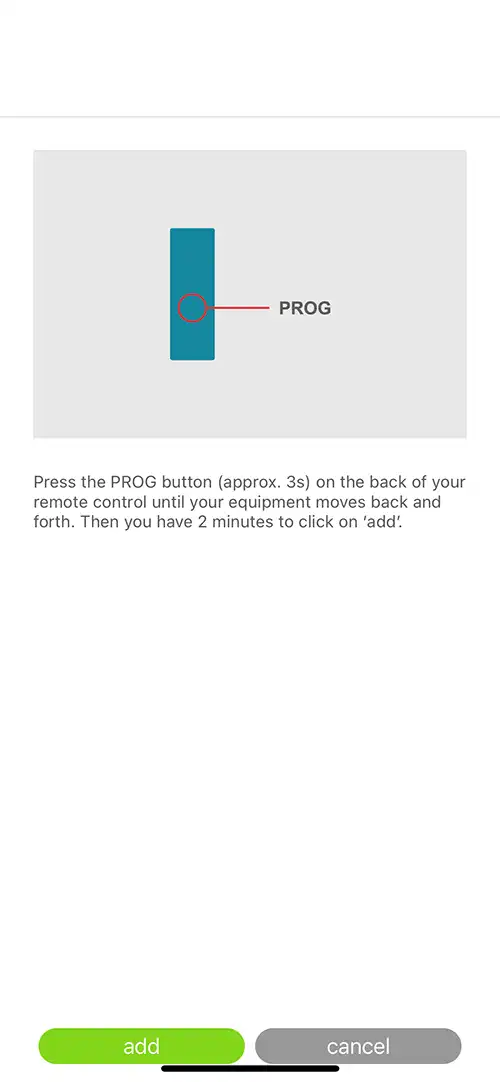
Step 6a: Press the PROG button on the back of the RTS remote control until the motor jiggles back and forth
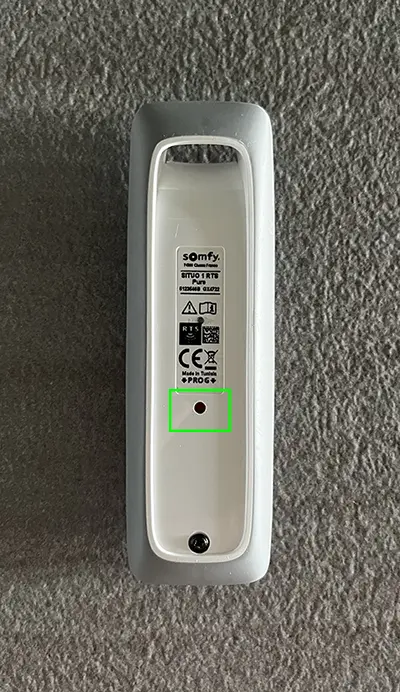
Step 6b: Click ADD within 2 minutes
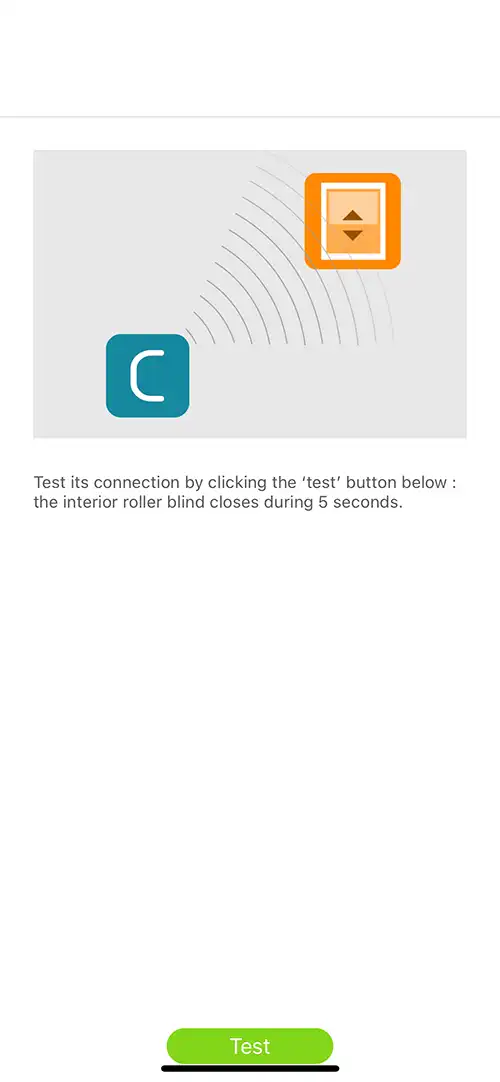
Step 7: Click TEST to test the connection
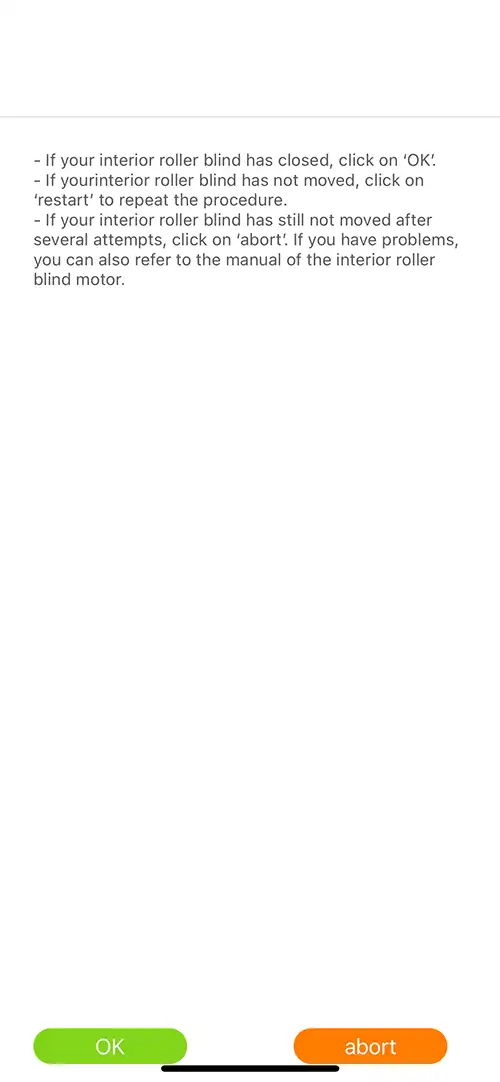
Step 8: If the blind has closed, click OK. If the blind has not moved, click RESTART. Click ABORT if the blind has not moved after several attempts
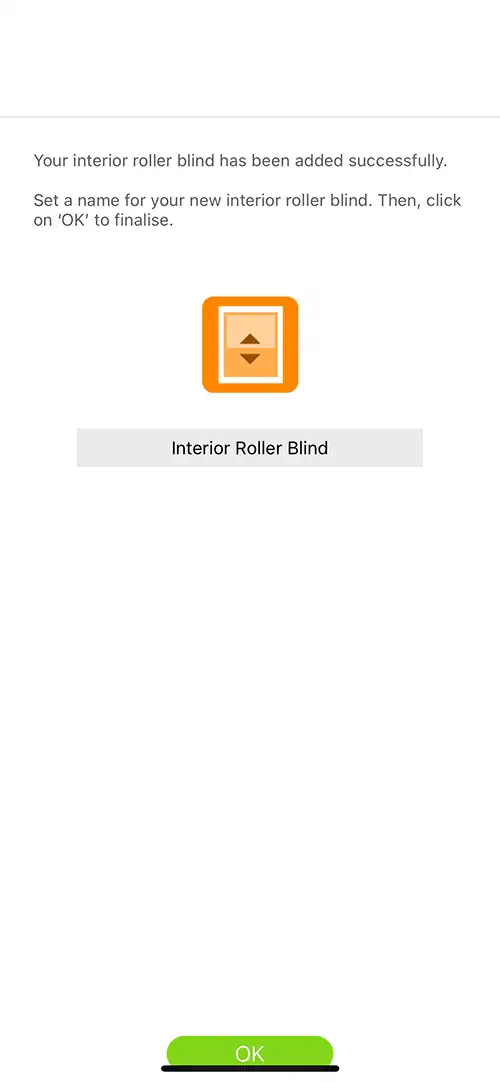
Step 9: Enter a name for the blind and click OK to complete setup
Note: Repeat the above steps to add more motors and devices to the hub
To operate the blinds from Connexoon Window RTS app, look for the motor/device from the bottom ribbon of the app
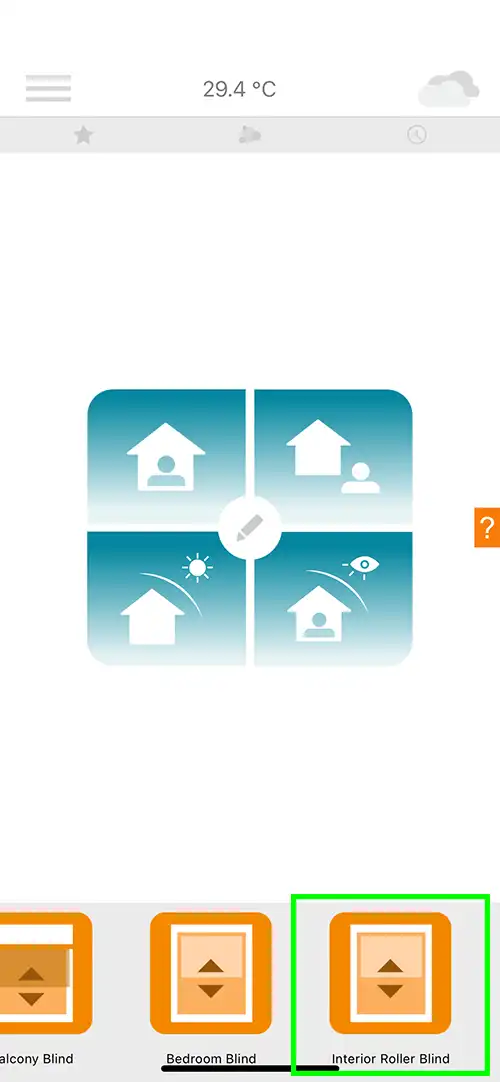
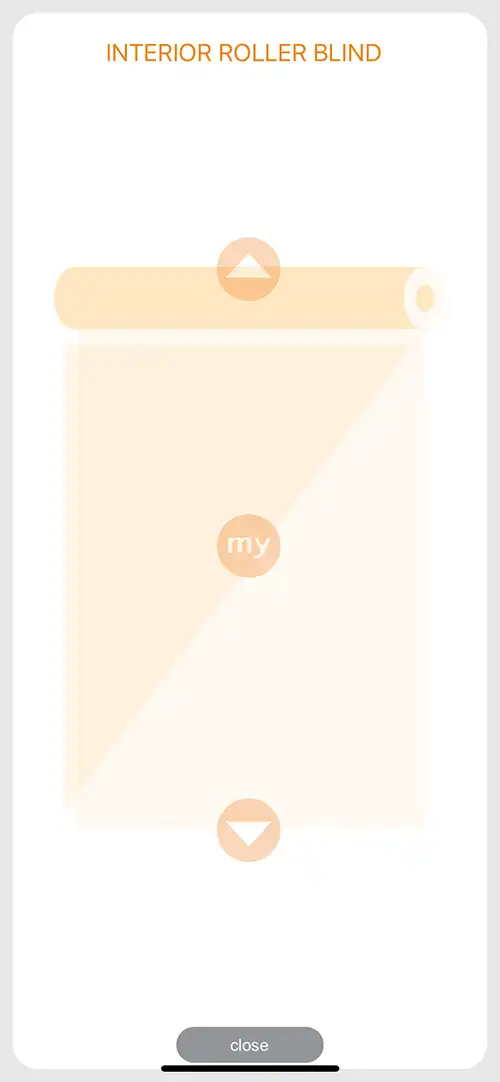
Select the command for the motor/device:
- Up Arrow: Open
- MY: Pre-set favorite position
- Down Arrow: Close
With the above steps completed, I can now control my Somfy blinds using the Connexoon Window RTS app from any location with an internet connection. Fantastic!
Let’s take this to the next level… controlling the blinds on Apple Home!
There are several options to link Connexoon Gateway to Apple HomeKit:
- Home Assistant (Overkiz & HomeKit Bridge integrations)
- Homebridge
- HOOBS
Since I already have Home Assistant with HomeKit Bridge running on my Raspberry Pi, I went with that option.
5. Home Assistant Integration
The Overkiz (by Somfy) integration platform is used by many different vendors, like Somfy, Hitachi and Atlantic. This integration will allow users to integrate their devices into Home Assistant using the Overkiz API.
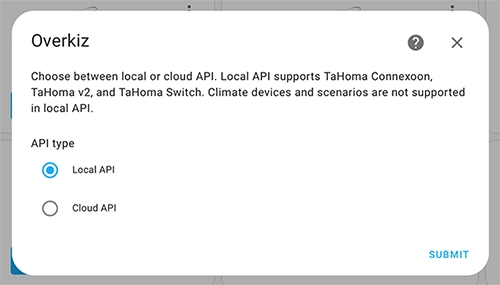
There are 2 API types available:
- Local API: Home Assistant connects to Connexoon Gateway on the local network. Requires Home Assistant Core 2023.12 release or later
- Cloud API: Home Assistant connects to Connexoon Gateway via Somfy cloud. Requires an internet connection
As I prefer to have local control over my smart home devices, I opted for the Local API option.
There are a few prerequisites to complete before I can use the Local API:
- Activate Developer Mode on Connexoon Gateway
- API authentication to obtain session cookie
- Generate a token
- Activate the token
It took some trial and error to successfully complete the above steps, explained in the detailed walkthrough below.
Activate Developer Mode on Connexoon Gateway
Update (25 June 2025): There’s an updated and much simpler method to enable Somfy TaHoma Developer Mode using the TaHoma by Somfy app. Follow the official instructions on GitHub.
Activating developer mode will enable local API on the Connexoon hub. These are the steps I took to complete this.
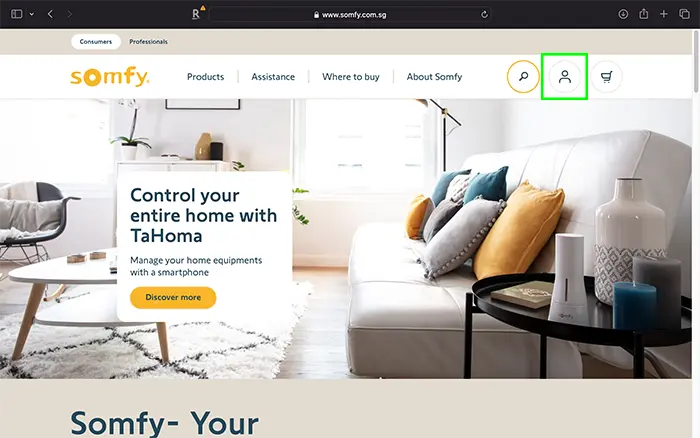
Step 1: Visit Somfy Singapore website and click on the login icon
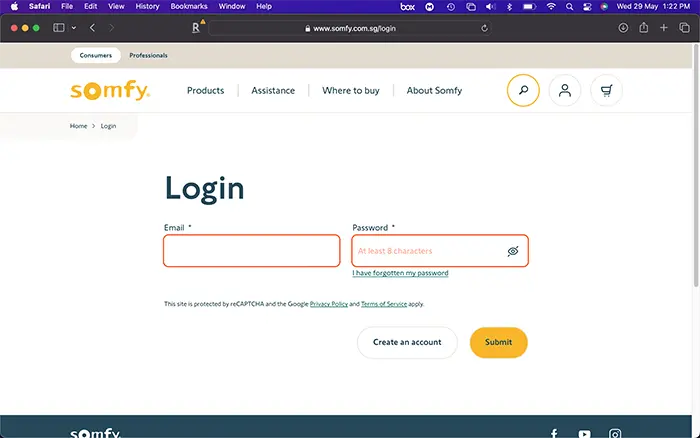
Step 2: On the login screen, fill in the email and password used for the Connexoon Gateway setup
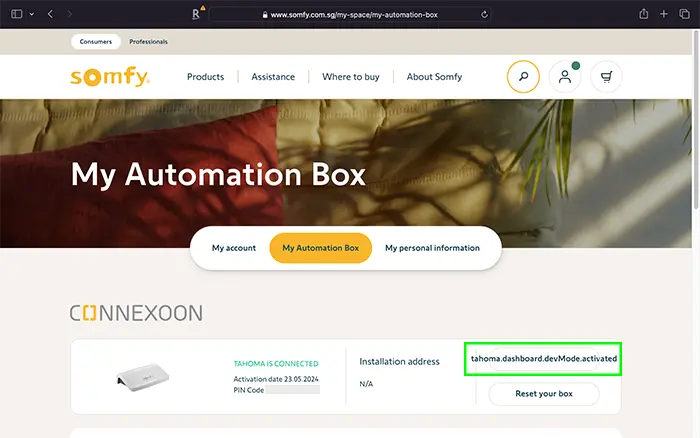
Step 3: Upon successful login, click My Automation Box
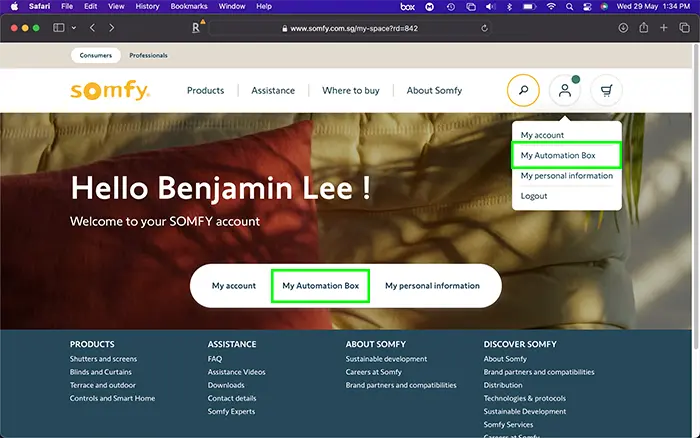
Step 4: Click tahoma.dashboard.devMode.activate button (located directly above Reset your box button). A pop-up box will ask for confirmation. Once confirmed, the label on the activate button will change to tahoma.dashboard.devMode.activated
Once developer mode has been enabled on the Connexoon Gateway, it will broadcast a service on the local network using mDNS protocol. I used the Discovery app to look for Service Type: _kizboxdev._tcp
API authentication (POST method)
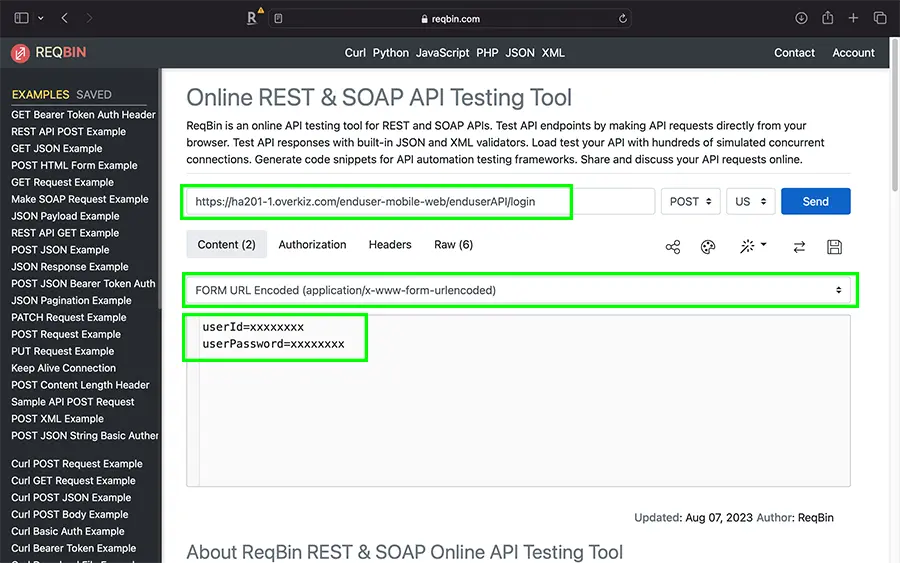
To use the local API, this step will negotiate a token with Somfy cloud API to authenticate calls to the local API. This is accomplished by sending a HTTPS POST request using the following URL:
https://{{url}}/enduser-mobile-web/enduserAPI/loginReplace {{url}} with one of the following based on your Somfy account location:
- ha101-1.overkiz.com (Europe, Middle East and Africa)
- ha201-1.overkiz.com (Asia and Pacific)
- ha401-1.overkiz.com (North America)
Include the following Request Header:
| Key | Value |
| Content-Type | application/x-www-form-urlencoded |
Include the following Request Body:
| Key | Value |
| userId | YOUR_EMAIL_ADDRESS |
| userPassword | YOUR_PASSWORD |
To submit the HTTPS request, I used ReqBin, an online API testing tool for REST and SOAP APIs
Upon successful login, the response will include a JSESSIONID cookie required to authenticate the other calls to Somfy backend. Save the JSESSIONID cookie, as that is required in the following steps.
Generate a token (GET method)
Submit a GET request with the following URL:
https://{{url}}/enduser-mobile-web/enduserAPI/config/{{pod}}/local/tokens/generateReplace {{pod}} with the pin of your gateway (e.g. 1234-5678-9012)
Include the following Request Headers:
| Key | Value |
| Content-Type | application/json |
| Cookie | JSESSIONID=THE_VALUE_YOU_GOT_FROM_THE_LOGIN |
For this step, I used ReqBin to submit the following CURL command:
curl -X GET --cookie 'JSESSIONID={{sessionId}}' -H "Content-Type: application/json" "https://ha201-1.overkiz.com/enduser-mobile-web/enduserAPI/config/{{pod}}/local/tokens/generate"Replace {{sessionId}} with the JSESSIONID cookie from the previous step
Activate token (POST method)
Submit a POST request with the following URL:
https://{{url}}/enduser-mobile-web/enduserAPI/config/{{pod}}/local/tokensInclude the following Request Headers:
| Key | Value |
| Content-Type | application/json |
| Cookie | JSESSIONID=THE_VALUE_YOU_GOT_FROM_THE_LOGIN |
Include the generated token in the Request Body (raw):
{
  "label": "Toto token",
  "token": "{{token}}",
  "scope": "devmode"
}
Once the token has been successfully activated, proceed to setup the Overkiz integration in Home Assistant.
Note: Somfy also provides APIs for Get available tokens and Delete a token. Refer to the Somfy TaHoma Developer Mode documentation on GitHub for more details
Setup Overkiz Integration in Home Assistant
These are the steps I took to set up Overkiz integration.
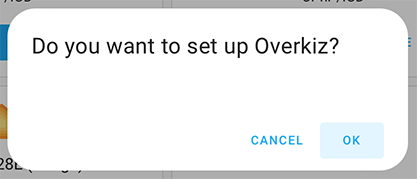
Step 1: Visit this link to add Overkiz integration
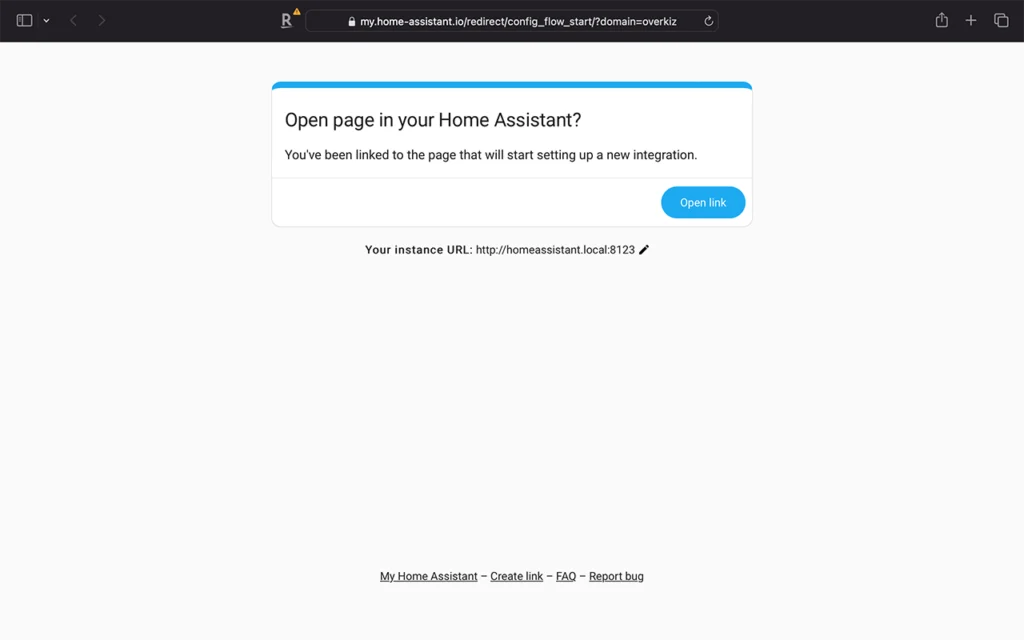
Step 2: Click OK to proceed with setup
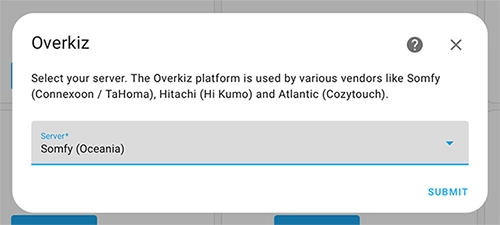
Step 3: Select server location
Step 4: Select Local API and click Submit
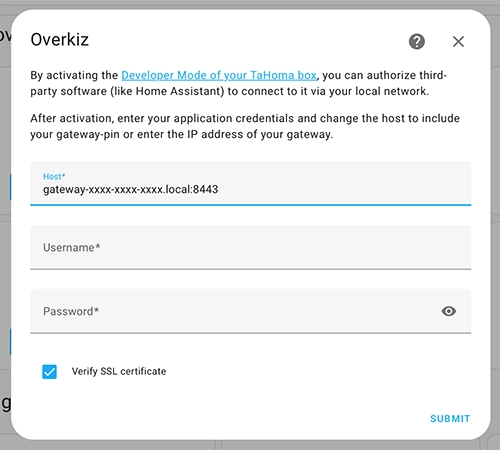
Step 5: Fill in Host, Username and Password, then click Submit to authorize Home Assistant connection to Connexoon Gateway. Replace xxxx-xxxx-xxxx in Host URL with Connexoon Gateway PIN
Once authorized, I can see the Overkiz integration in my Home Assistant settings page
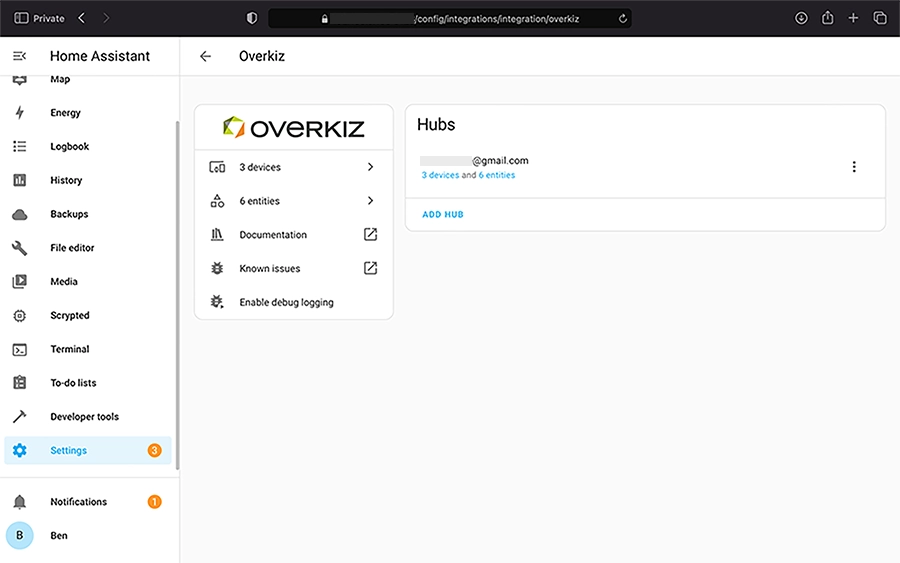
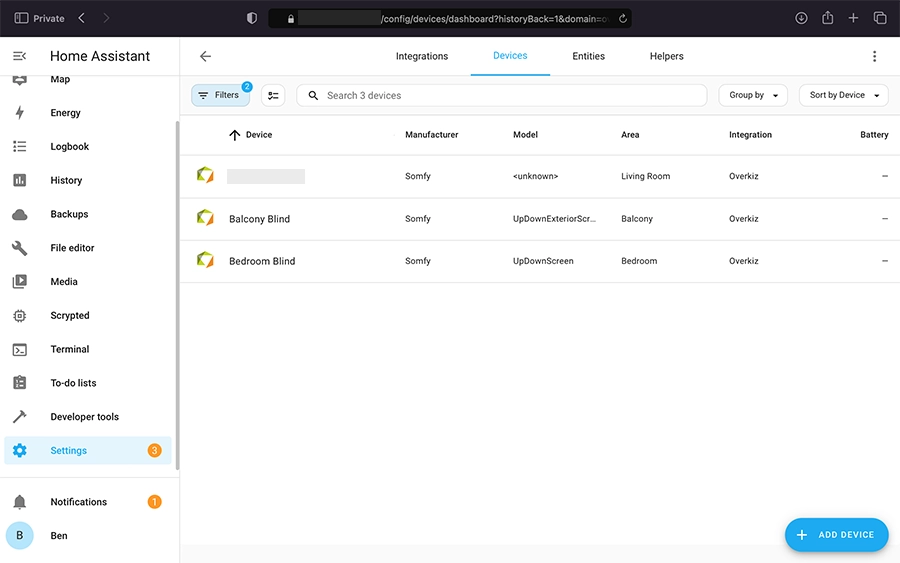
There are 3 devices in the Overkiz integration: Connexoon Gateway and the RTS roller blinds
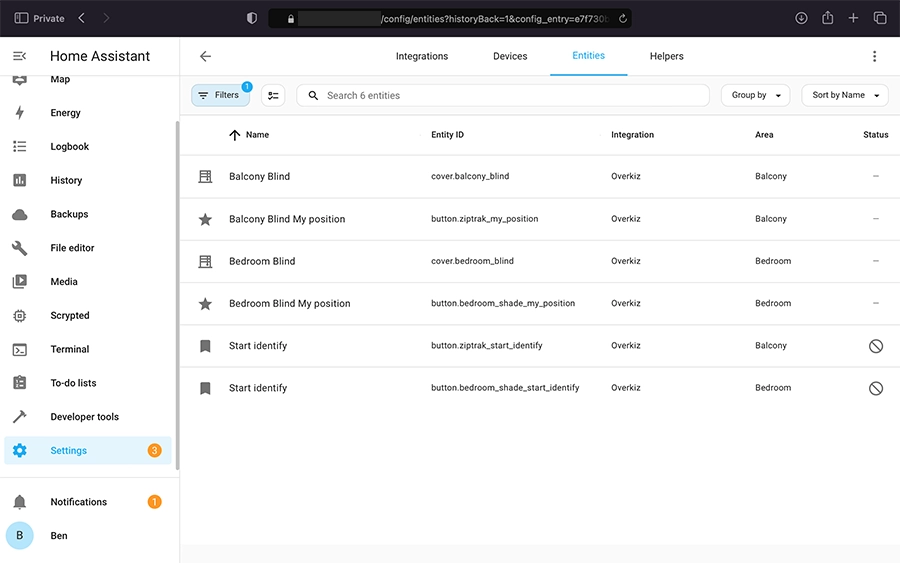
These are the entities in the Overkiz integration
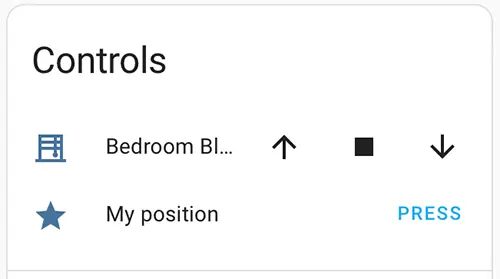
Somfy blind controls available in Home Assistant: Open, Stop, Close and MY favorite position
6. Apple HomeKit Integration
To view the blinds in Apple Home app, I first had to reload my HomeKit Bridge integration in Home Assistant
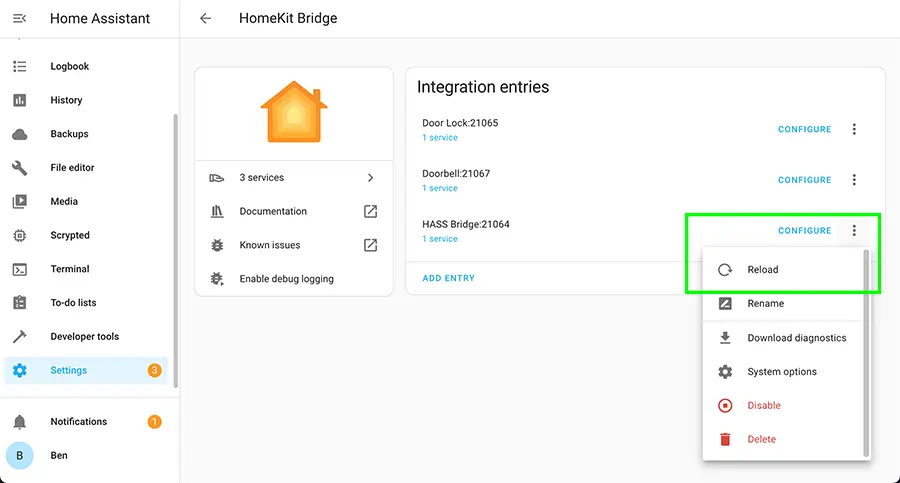
Note: If you don’t have the HomeKit Bridge in Home Assistant, follow this guide to set up the integration
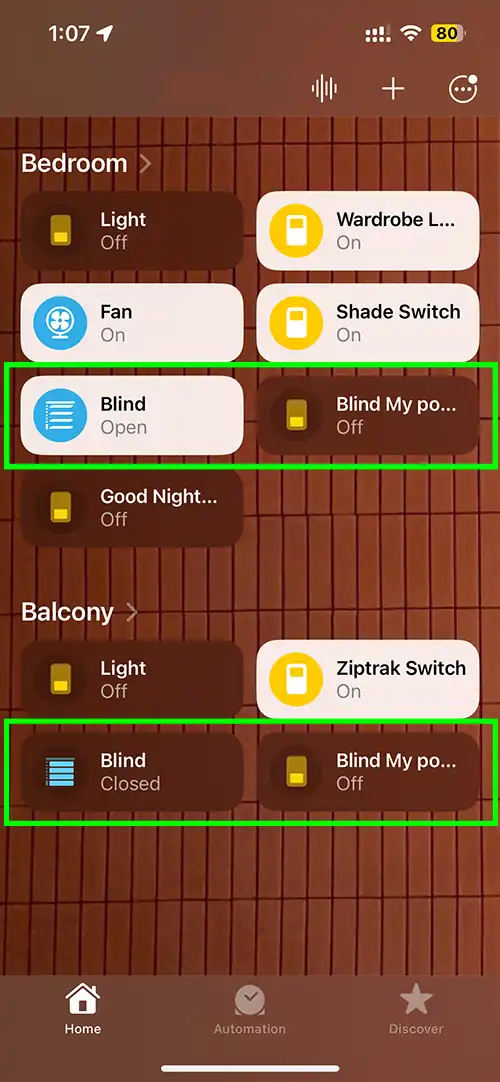
Each Somfy RTS blind will have 2 icons on the Apple Home app: one icon for the roller blind and the other for the MY position button
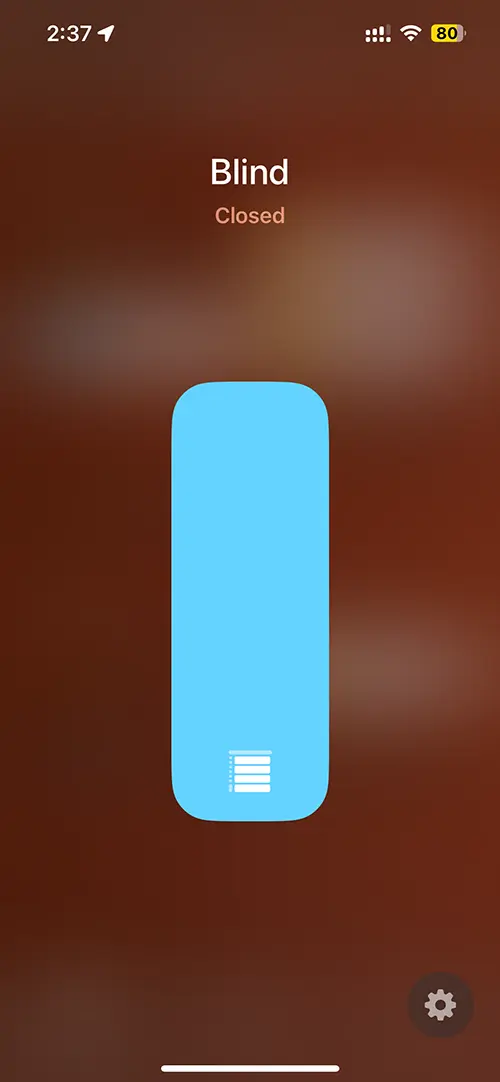
Window shades in HomeKit are controlled with a slider, similar to a brightness slider. Slide down to close the shade
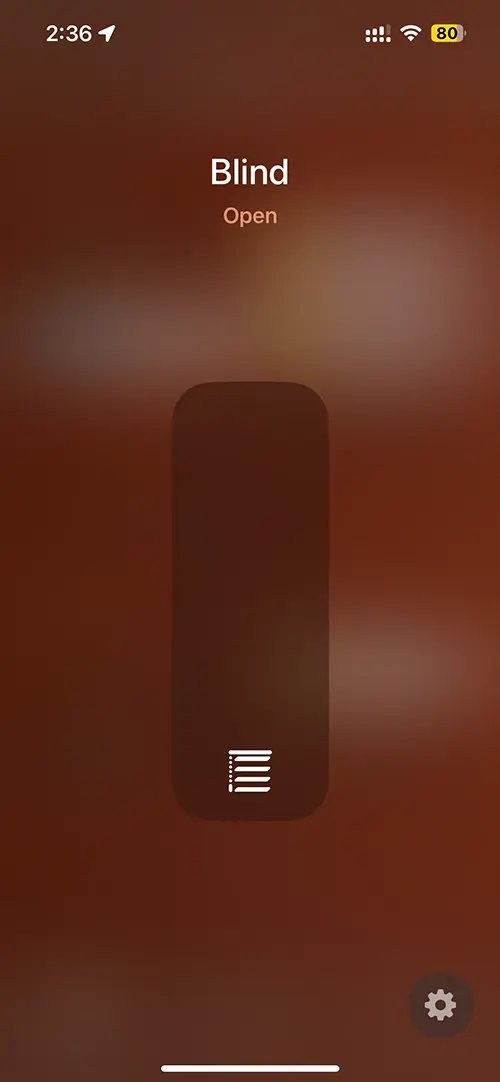
Slide up to open the shade
7. Create Stateful Entity for Somfy RTS Blinds
One thing to note is that the Somfy RTS protocol is stateless, which means blinds do not report their state (open or closed) back to the hub. This means Home Assistant (and HomeKit in this case) will not know the state of the blinds after it has been controlled. Due to this, blinds will report an “Unknown” state in Home Assistant, as shown below.

If your blinds are controlled only on Home Assistant, you can use the template cover to create a stateful entity. This will allow you to keep track of the current state (open or closed). Follow instructions on Home Assistant Overkiz integration page to set this up.


Leave a Reply